Setting up a SIP trunk
Once you've signed up for your Dial 9 SIP trunk service, you'll need to login to our web interface - Dial 9 Connect - and set up incoming and outgoing call routes.
Incoming calls
To set up incoming calls, head to Trunking -> SIP servers, then add a new server as either an IP or the hostname of the server that's hosting your PBX.
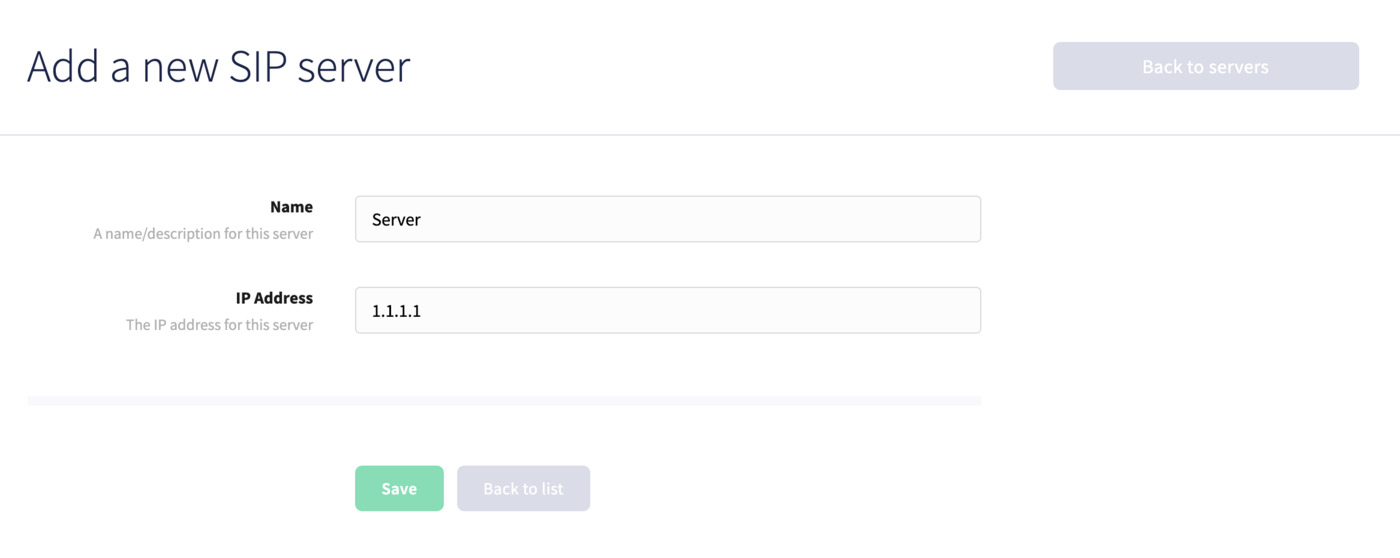
Then, head to Trunking -> SIP URLs, then add a URL using the following format:
441202912444@1.1.1.1
Where 441202912444 is the Destination Username, and 1.1.1.1 is one of your previously added SIP servers.
Note that usernames should be in E164 numeric format i.e. 441202912444 or +441202912444, without additional characters. We don't currently support suffixes for other protocols such as TLS, and calls will route by UDP.
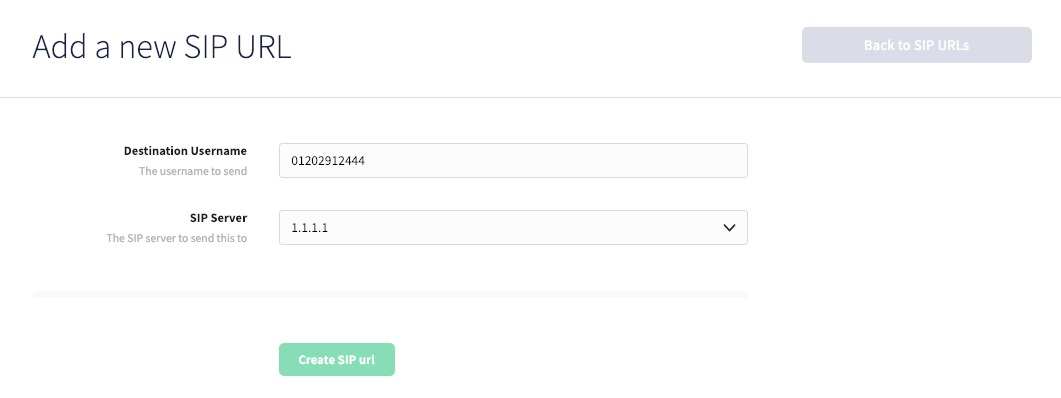
Once that has been set up, you can head to Numbers and set the Destination to SIP Url -> Your new SIP URL.
Outgoing calls
To set up outbound calls, you'll just need to add an Outbound trunk via Trunking -> Outbound trunks, as the IP address of the server hosting your PBX. We authenticate by IP only, so no further configuration is required.